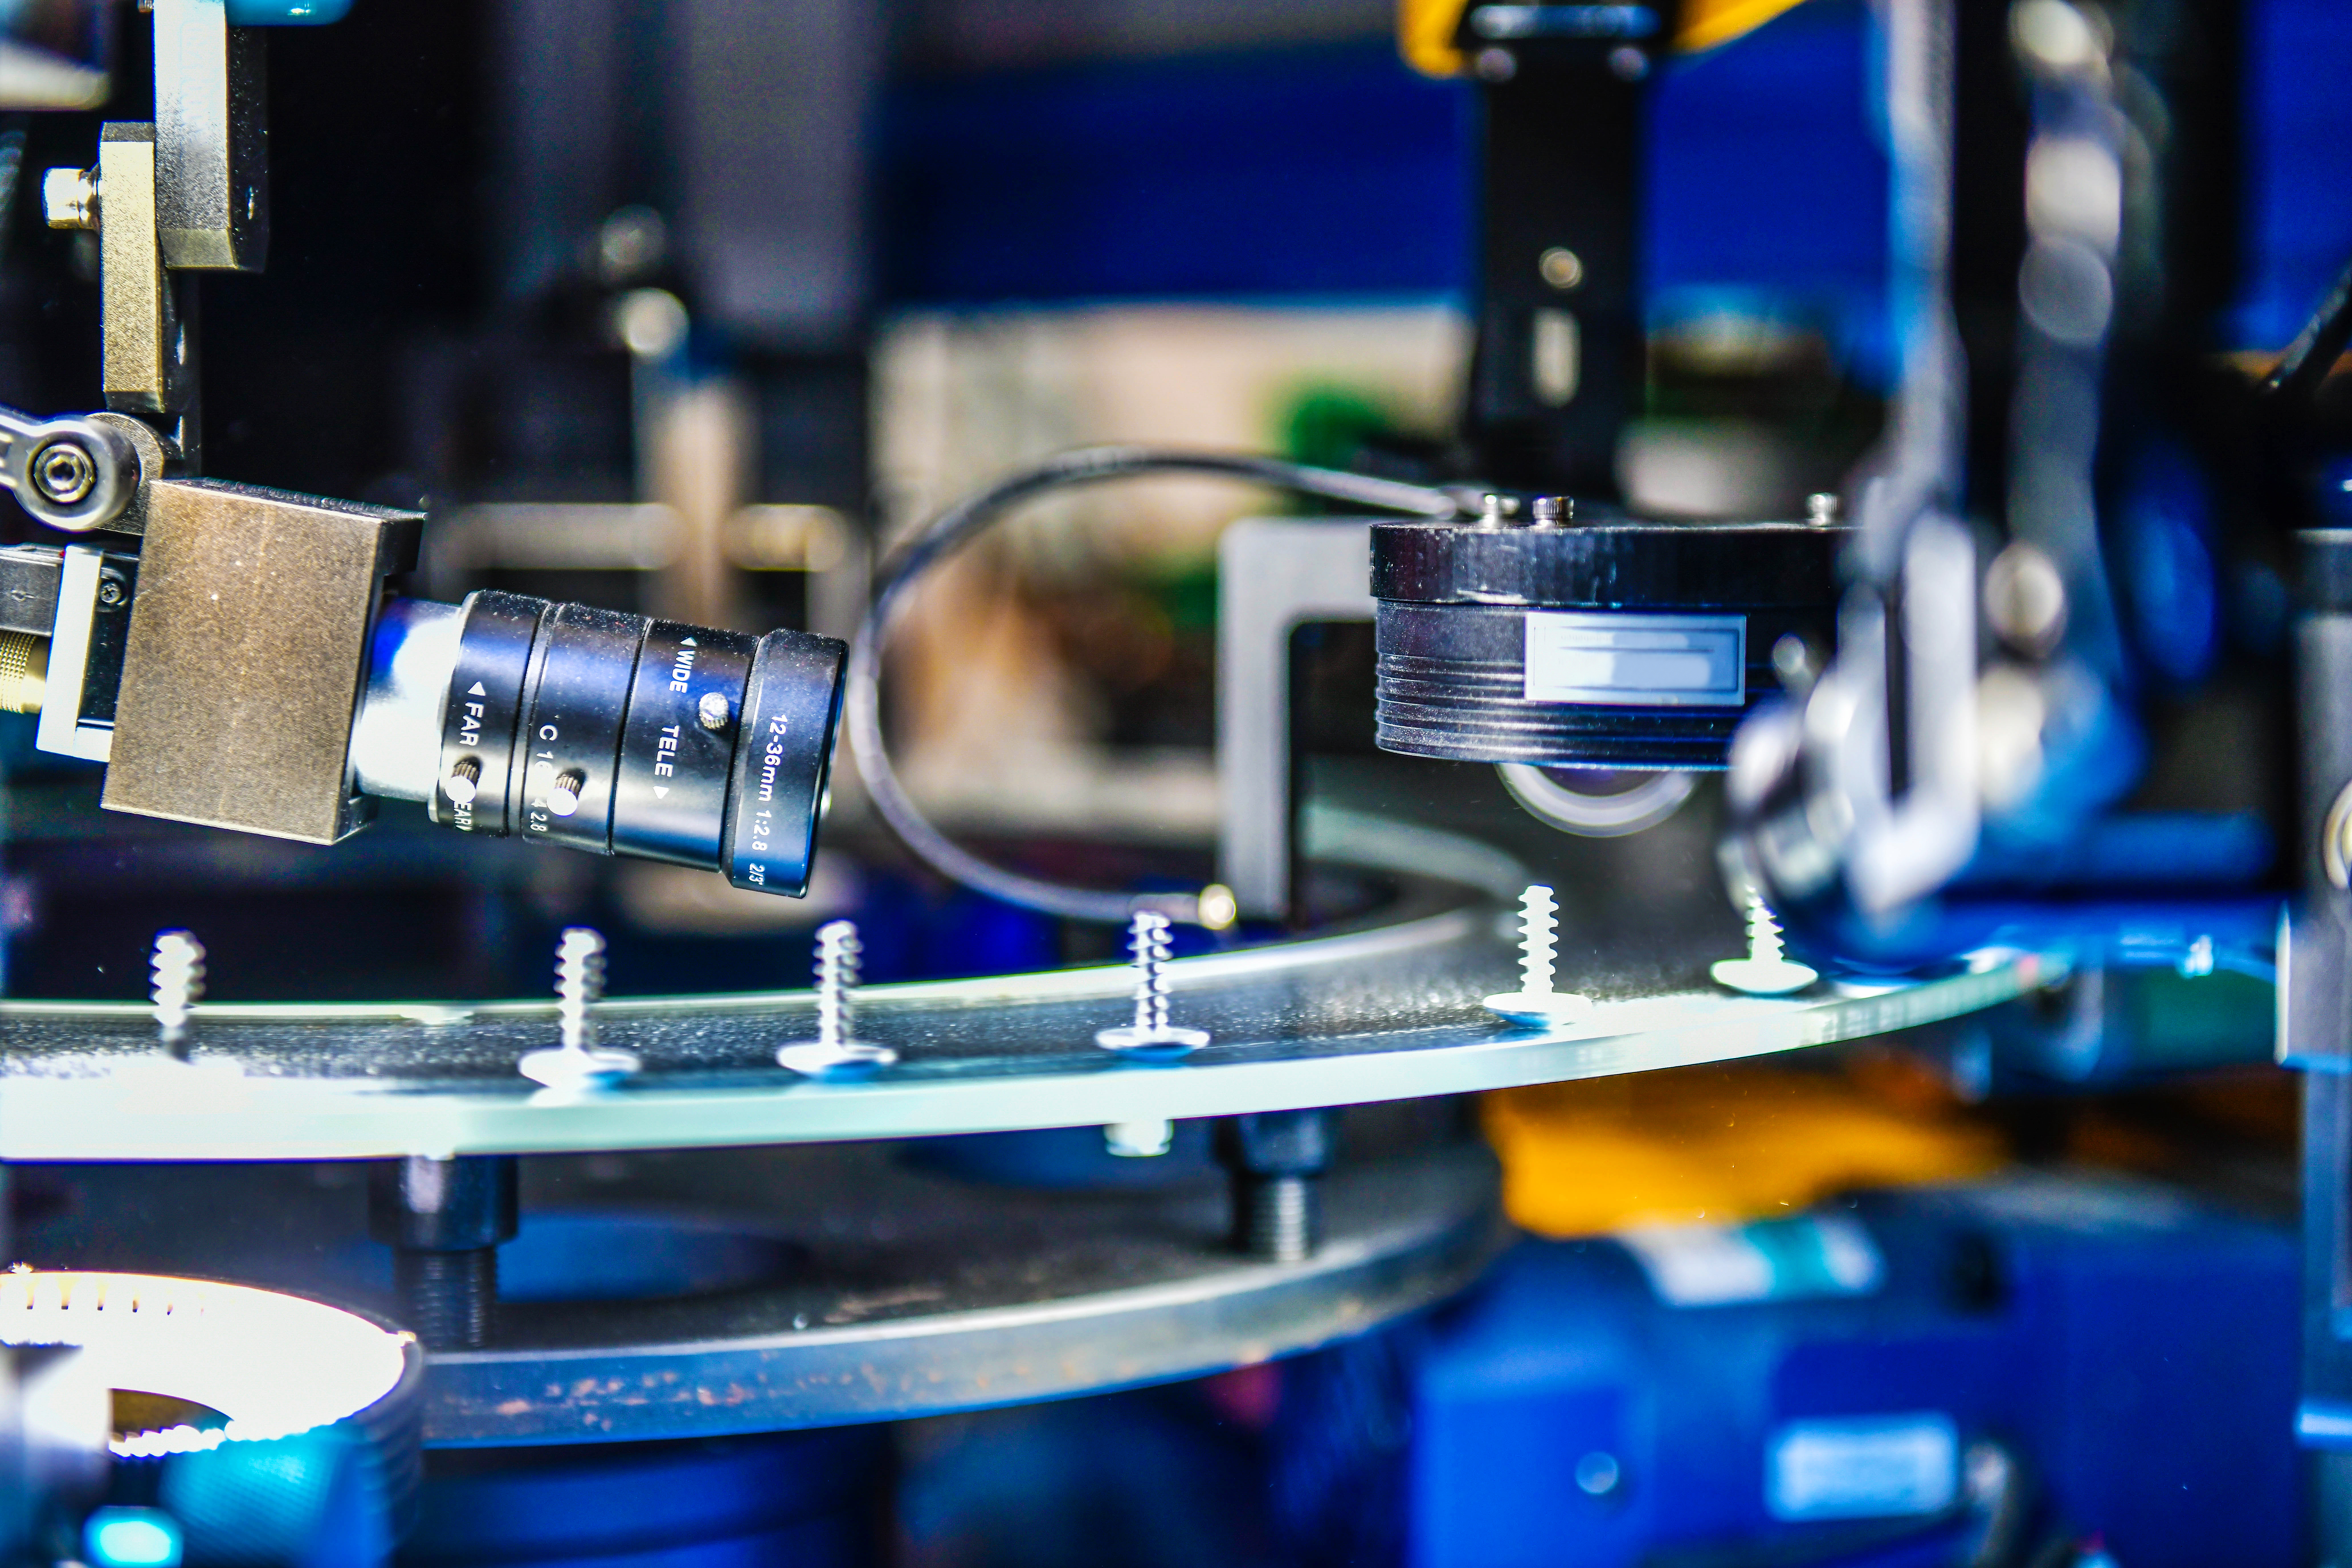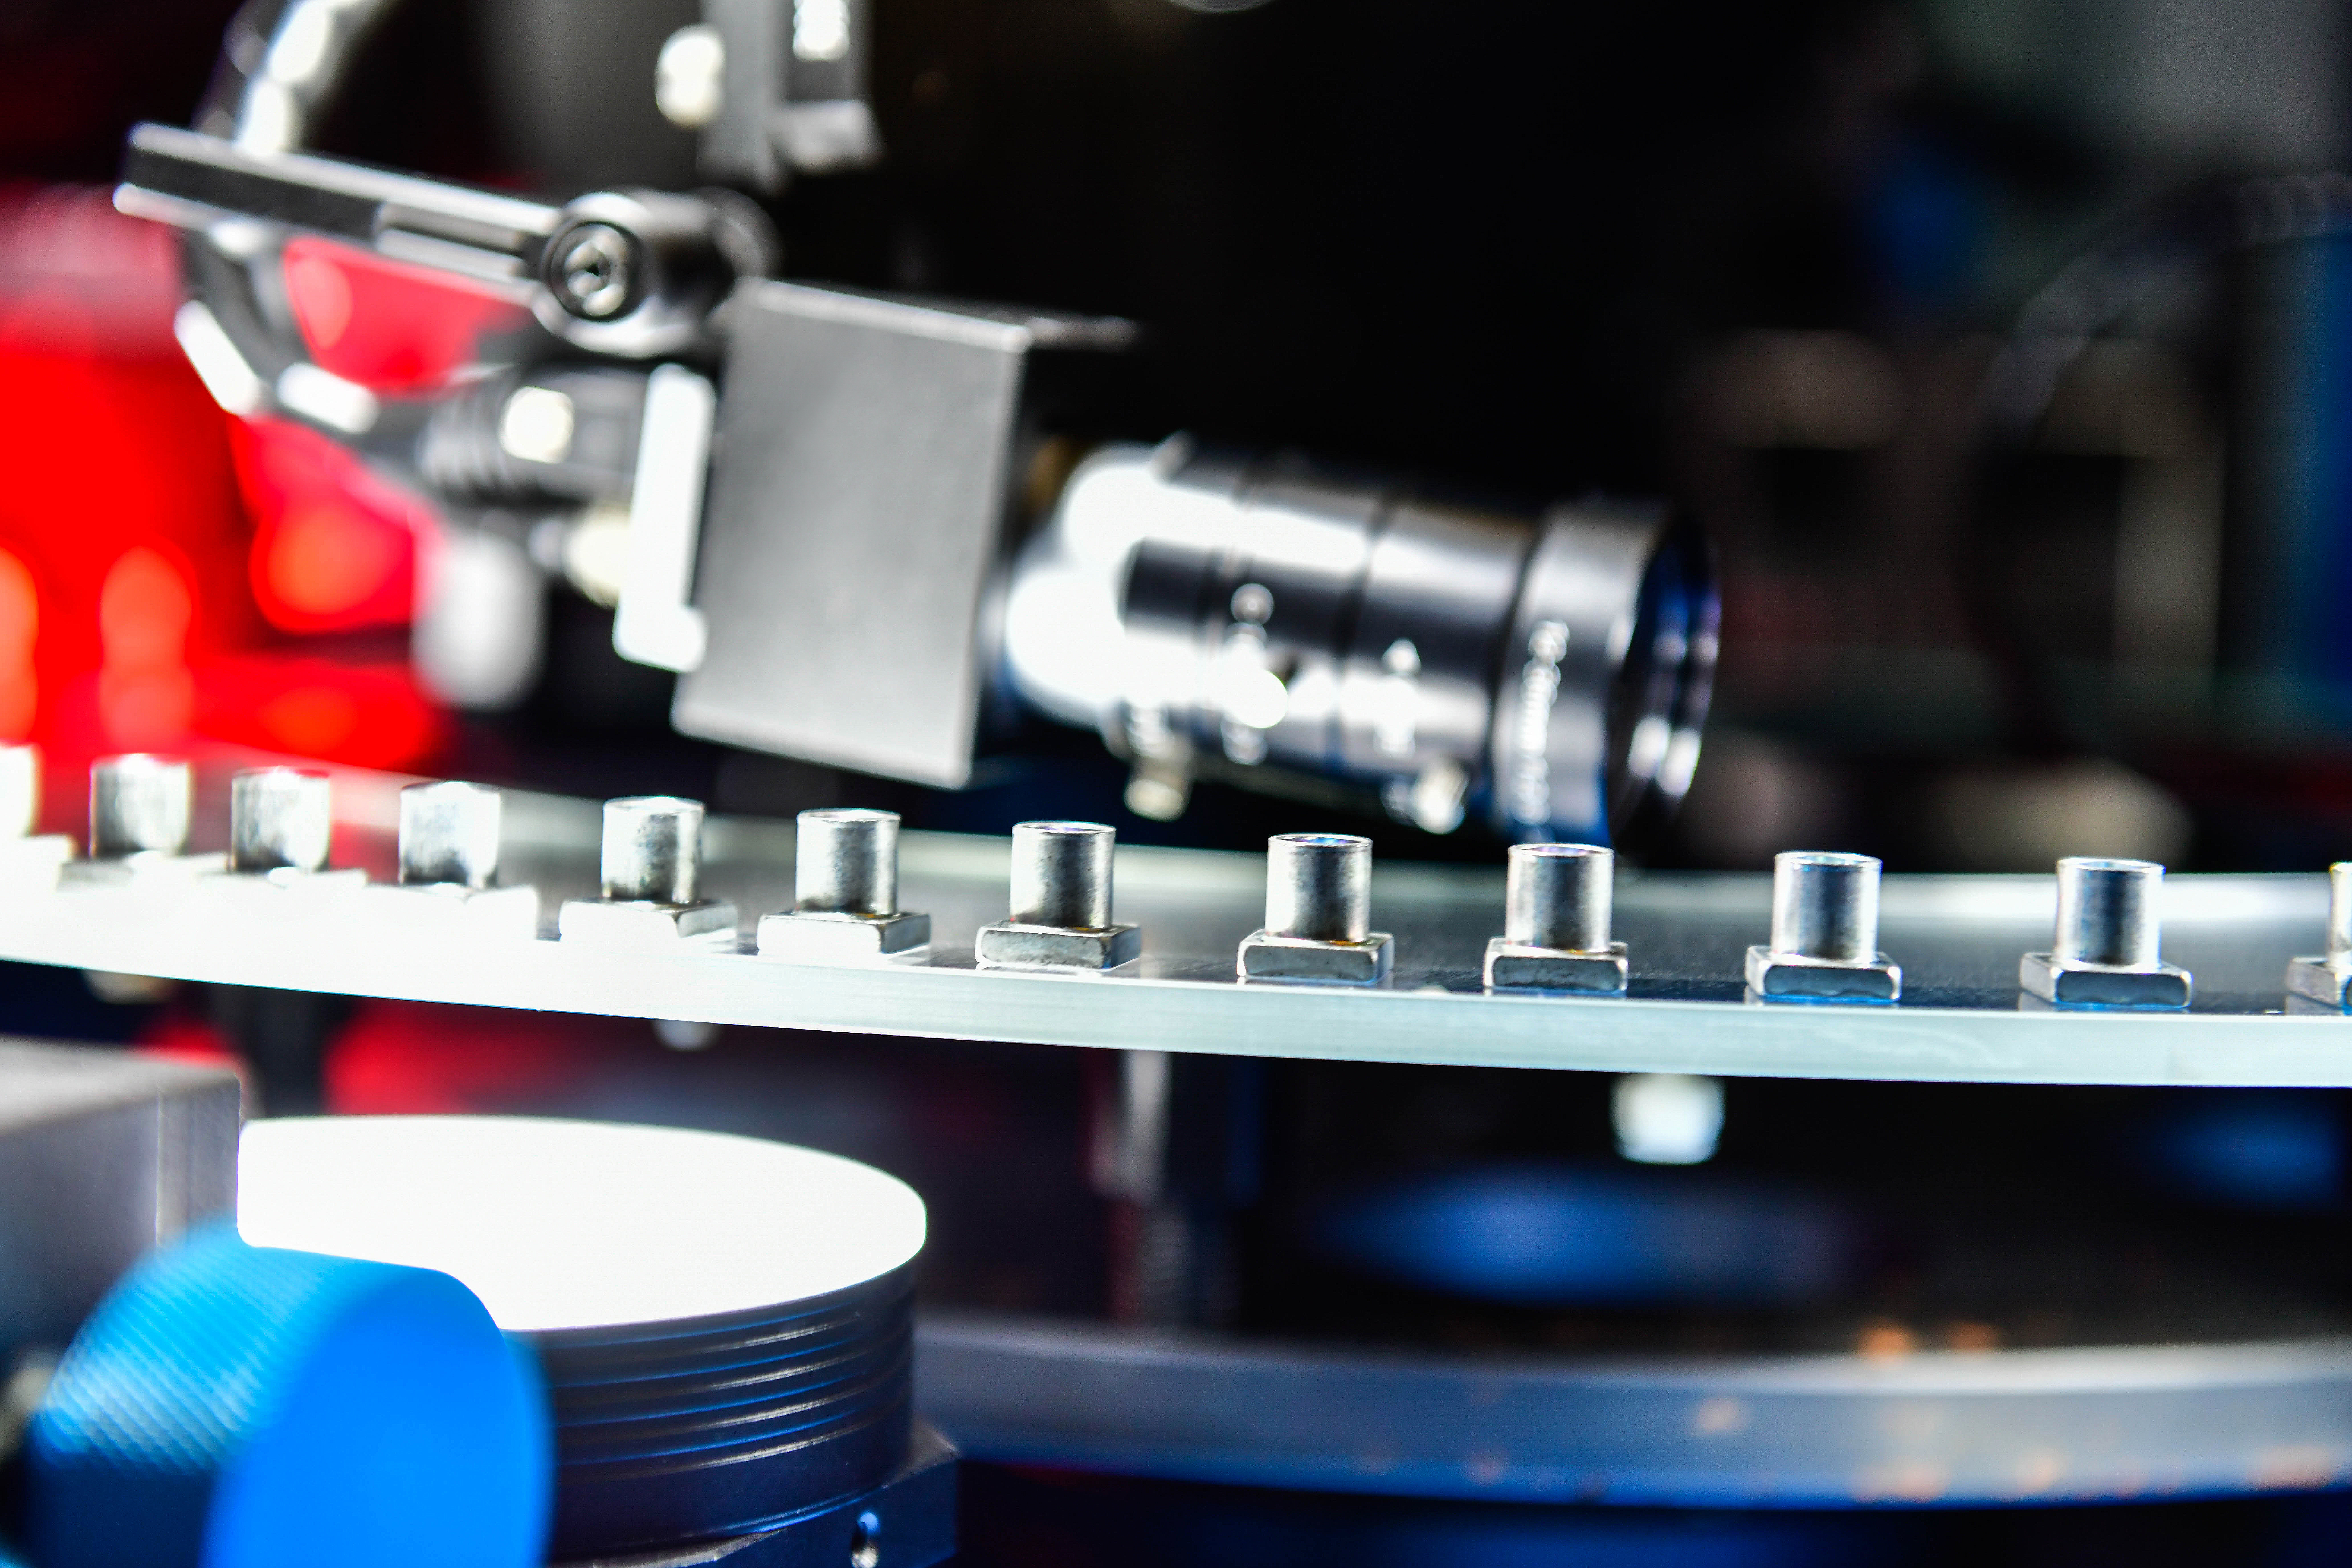
State-of-the-art digital camera technology for measuring and sorting
We ensure your quality by 100% control.
With our high-end sorting machines, we pursue a zero-defect strategy, both for our own manufactured fasteners and precision components, and within the scope of contract camera sorting for all our customers. We inspect and sort fasteners of all types, such as screws, cold extrusions, pressings and stampings, turned parts and pins, washers as well as nuts and rings.
The test procedure and the test characteristics are defined together with you and implemented in test programs specially created for you. The geometry, feedability and required inspection characteristics of your products determine the sorting machine to be used. For this purpose, we use two different types of sorting machines, each of which is equipped with a 4-fold camera system in order to inspect your articles in any position and thus fully ensure their quality.
Product-specific test characteristics
The requirements for fasteners and precision turned parts are constantly increasing and with them the expectations of our customers for 100% sorting. Our sorting machines check fasteners from 2 to 45 millimeters in diameter and up to 80 millimeters in length. All machines are characterized by a high degree of flexibility, which means that the number of inspection characteristics to be recorded can be optimally adapted to the specific product.
For each test characteristic, we guarantee our customers 10 ppm grade purity.
The following characteristics can be recorded:
- Exterior drive by camera
- Bore diameter
- Punctures
- Internal thread
- Thread per 360° inspection
- Thread core and outer diameter
- Thread lock available
- Internal drive (hexagon socket/Torx)
- Drive test
- Head diameter, height and geometry
- Contour check
- Head cracks
- Domes
- Length
- Damage per 4 x 90° tests
- Surface defects per topography camera
- Knurl present
- Shank geometry
- Slots available
- Chip free bore
- Tip present
- Identification foreign parts
